
InfoPath is a useful tool to create forms and publish them to SharePoint 2013. The communication between InfoPath 2013 and SharePoint works really well. You can use values of InfoPath and show them in SharePoint document library rows.
There are a two things you need to check before you can start.
- Do you have a sub-site (document library) in SharePoint 2013?
- Does the user have site collection administrator rights?
- The first thing to do is to create a new InfoPath form. To do this, click in the left corner on File and then choose SharePoint Forms.
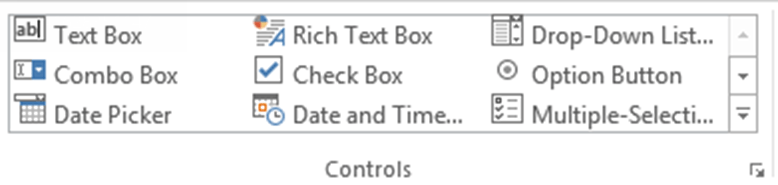
- On the top you will see the controls.

There is everything you need to create a form. You can create textboxes, checkboxes and a few more things. - Another important thing is to enable web browser compatibility. To do this, click on File and then choose Form Options. After that choose Compatibility. Set it to Web Browser Form.
- Now we will define how the forms will be named, when we save them on SharePoint. On the right bottom corner click on Manage Data Connection.
- We want to submit data, we will choose receive data.
- The form should be saved to a SharePoint library or list.
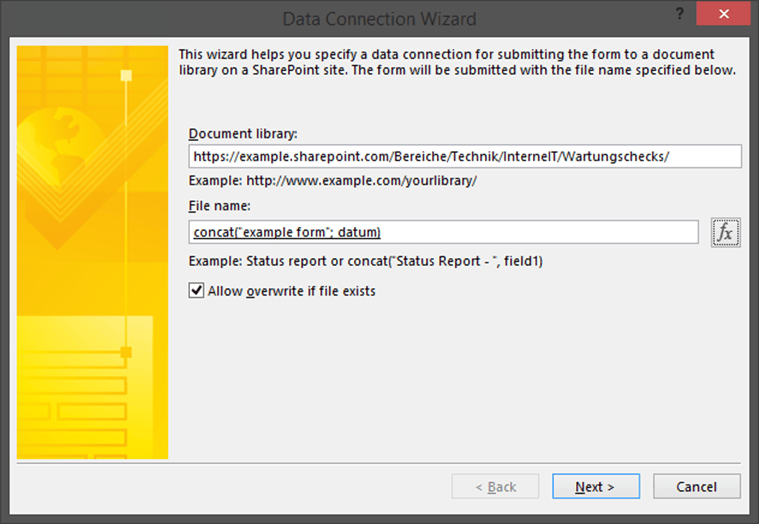
- Specify the document library (our subsite). Additional we have to define a file name. This name will be the same for every form we save. So it’s a good idea to specify a dynamic name. Maybe you want to include a date. This is what we did here in our form. With concat you can combine words or values.

- At the end of this wizard you have to define a name for this connection.
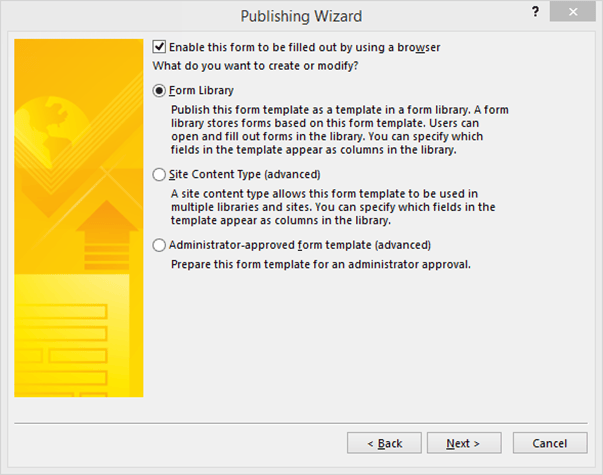
- Now we want to publish our Form to SharePoint. To do this, go to File, Publish, SharePoint Server. A new windows will appear, specify the URL of your subsite and click next. Now you can choose, what you want to modify. You can change the form library, the site content type or administrator-approved form template (advanced). I have been using site content type, because this gives me the chance to choose between a few document templates in my SharePoint library. An example: When I’m in my SharePoint library, I can choose in the top left corner, what I want. I can choose between a Word file, an InfoPath form or something else.

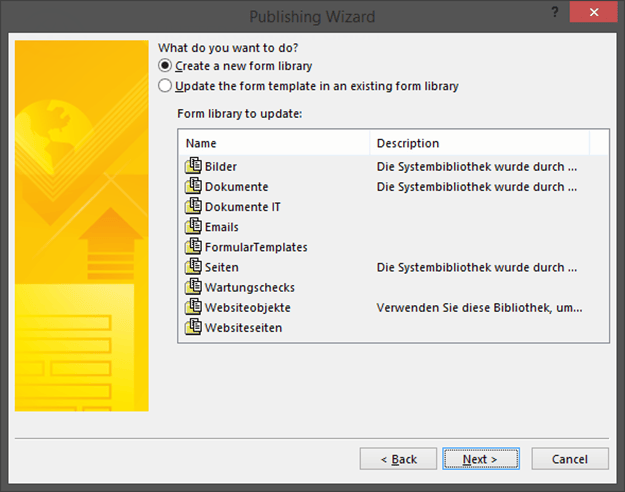
- Now you can choose if you want to update an existing template or to create a new form library.
- At least, you can specify a name and a description for your form.
- Press Publish.


Beitrag teilen